概要
- Googleが2020年1月16日にリリースしたCloud Identityによって社内端末を管理する設定をしました。
- 事例がほとんど見つからないのでオフィシャルドキュメントを片っ端から読んで設定してみました。
- コーポレート関連の情報が全然出回らないので書いておきます。
- 手順などをちゃんと書くと、文量が大量になるので要点だけまとめます。
Cloud Identity特徴
- 無料と有料プランがあります
- Google Cloud Identity Free Edition
- Google Cloud Identity Premium Edition
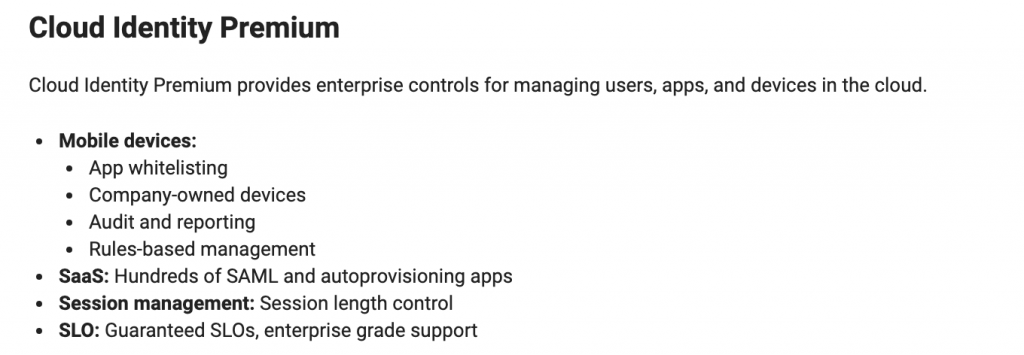
- Chrome Bookの端末管理をしたかったので今回はPremium Editionを使う必要があります。
- Google WorkspaceのEnterpriseプランだとCloud Identityのサービスが含有されているのですが、それ以外では個別に契約が必要っぽいです。
- 料金
- 645円/ユーザ/月

セキュリティ要件例
このあたりのことをやれます。
- 端末の紛失、盗難
- データの削除をリモートから行ったり、容易にログインできなくする。
- ディスクが暗号化された状態を担保する。
- 認証
- ソーシャルエンジニアリング対策
- BYO対策
- 個人端末で会社アカウントを使っている場合の管理。
- 業務委託の端末管理。
- Google Workspaceのアカウントを使ってログインしている端末は、Google Device Policyというアプリを別途入れることを共用されます。このアプリ経由で端末を制御できます。

Enable Windows device management - Google Workspace Admin Help
Supported editions for this feature: Frontline Starter and Frontline Standard; Business Plus; Enterprise Standard and En...
support.google.com
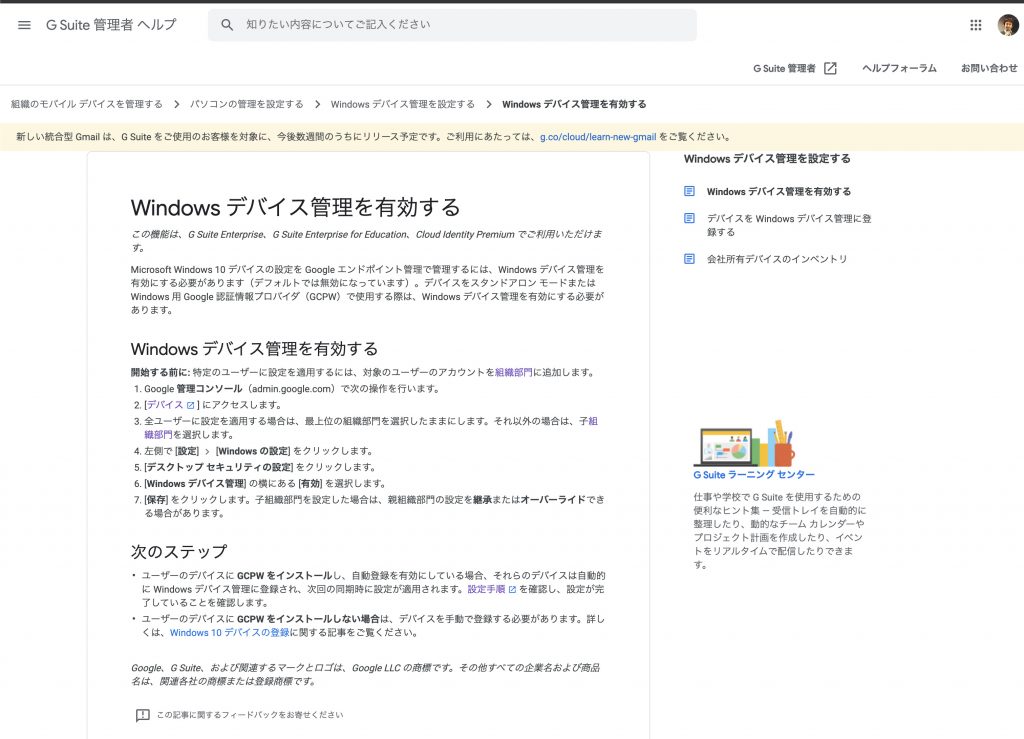
こんな感じで有効化できます。

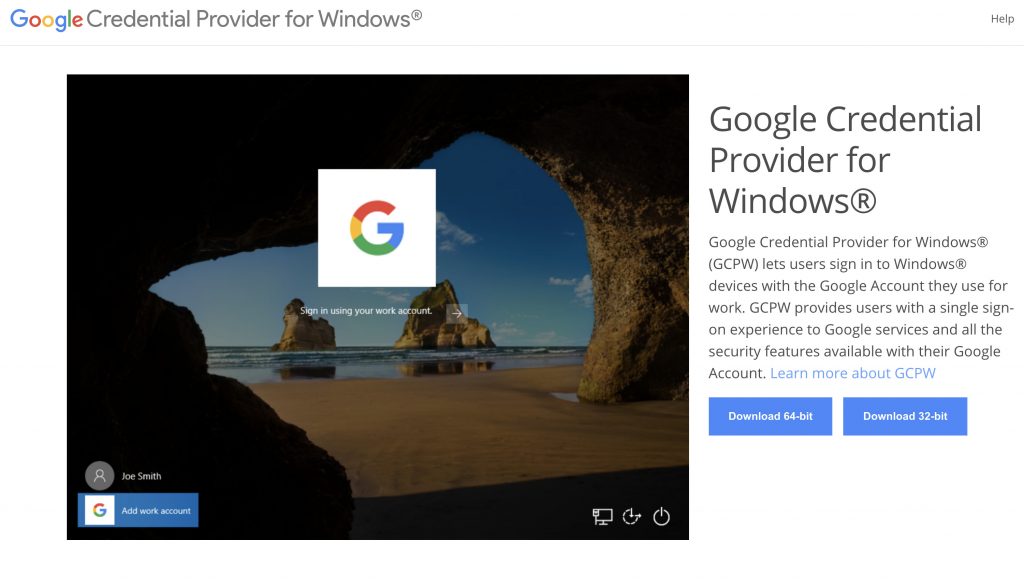
Windows端末の場合葉、Google Credential Providerというアプリが用意されていて、Google WorkspaceのIDとPWでWindows端末にログインするように設定できます。

Windows® 用 Google 認証情報プロバイダ
Windows® 用 Google 認証情報プロバイダ(GCPW)を使用すると、ユーザーは仕事用の Google アカウントを使って Windows® デバイスにログインできるようになります。GCPW を使用すると、Google サービスへ...
tools.google.com
私の場合は、以下のようなPowerShellスクリプトを書いて、キッティング時に実行して設定してます。
運用
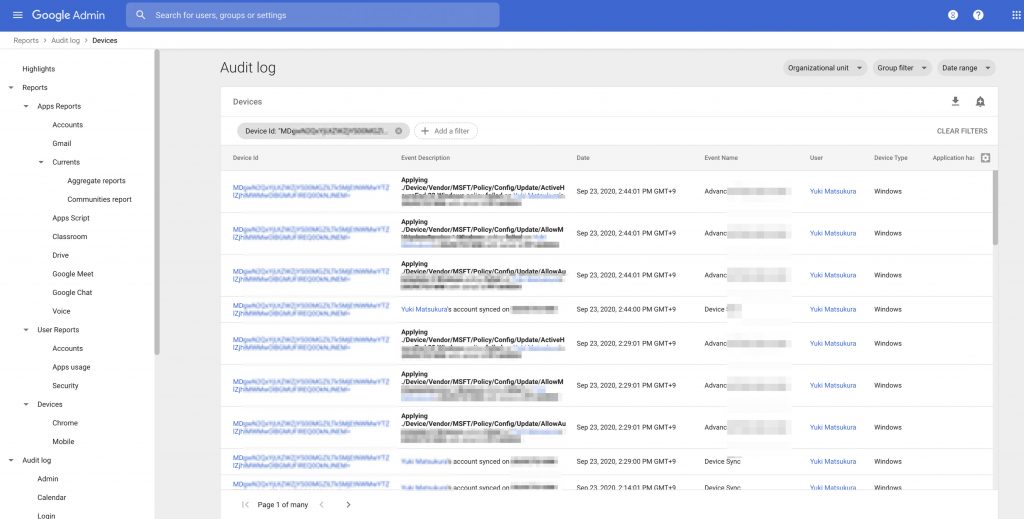
以下のスクショのような感じでログインしたユーザやデバイスが表示されます。対象のデバイスから強制ログアウトや、リモートから情報の削除を行えます。
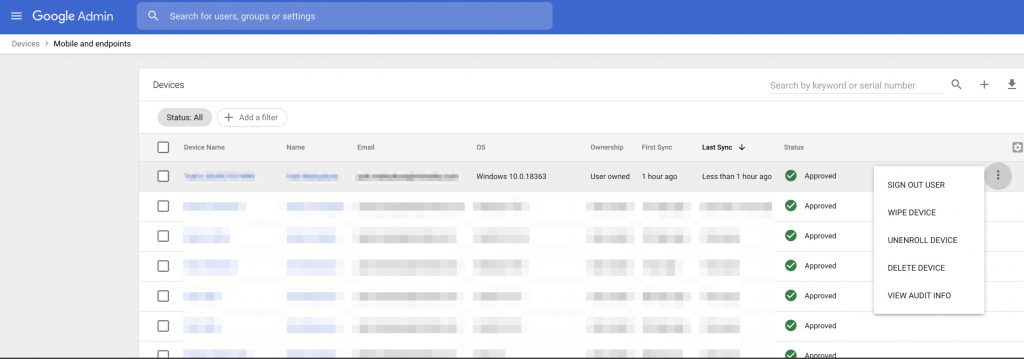
デバイスでフィルタをしたりできます。
考察
- この設定によって、会社のデバイスやBYODの端末を管理できるようになりました。セキュリティをコントロールしづらいBYODに対してもリモートワイプできるようになりました。
- Google Workspacesを導入したスタートアップには良いと思います。Android, ios, Windows, macosにおける最低限の認証管理、設定管理は行なえます。
- もっと細かい制御をしたい場合は、JAMFやIntuneなどを使って強化していけばよいかと思います。
ABM連携もできるようなので、今後トライしたいです。
https://support.google.com/cloudidentity/answer/9904735?hl=en

https://amzn.to/3giEIuX
amzn.to

コメント